
Installation Movies: Seismic & Vibration Products
A seismic restraint performs as designed only if it is installed as designed. A missing anchor, an isolator left unlevelled, a cable set at the wrong angle: small errors on site can defeat a system that was correctly calculated and tested. These short films show the installation sequence for two of our most-used systems, so contractors and site engineers can get it right first time.
How to install a seismic & vibration isolator with top plate
More films on YouTube
Product overviews and installation films for isolators, snubbers, hangers and bracing. Subscribe for new films.
Subscribe on YouTube (opens in a new tab)
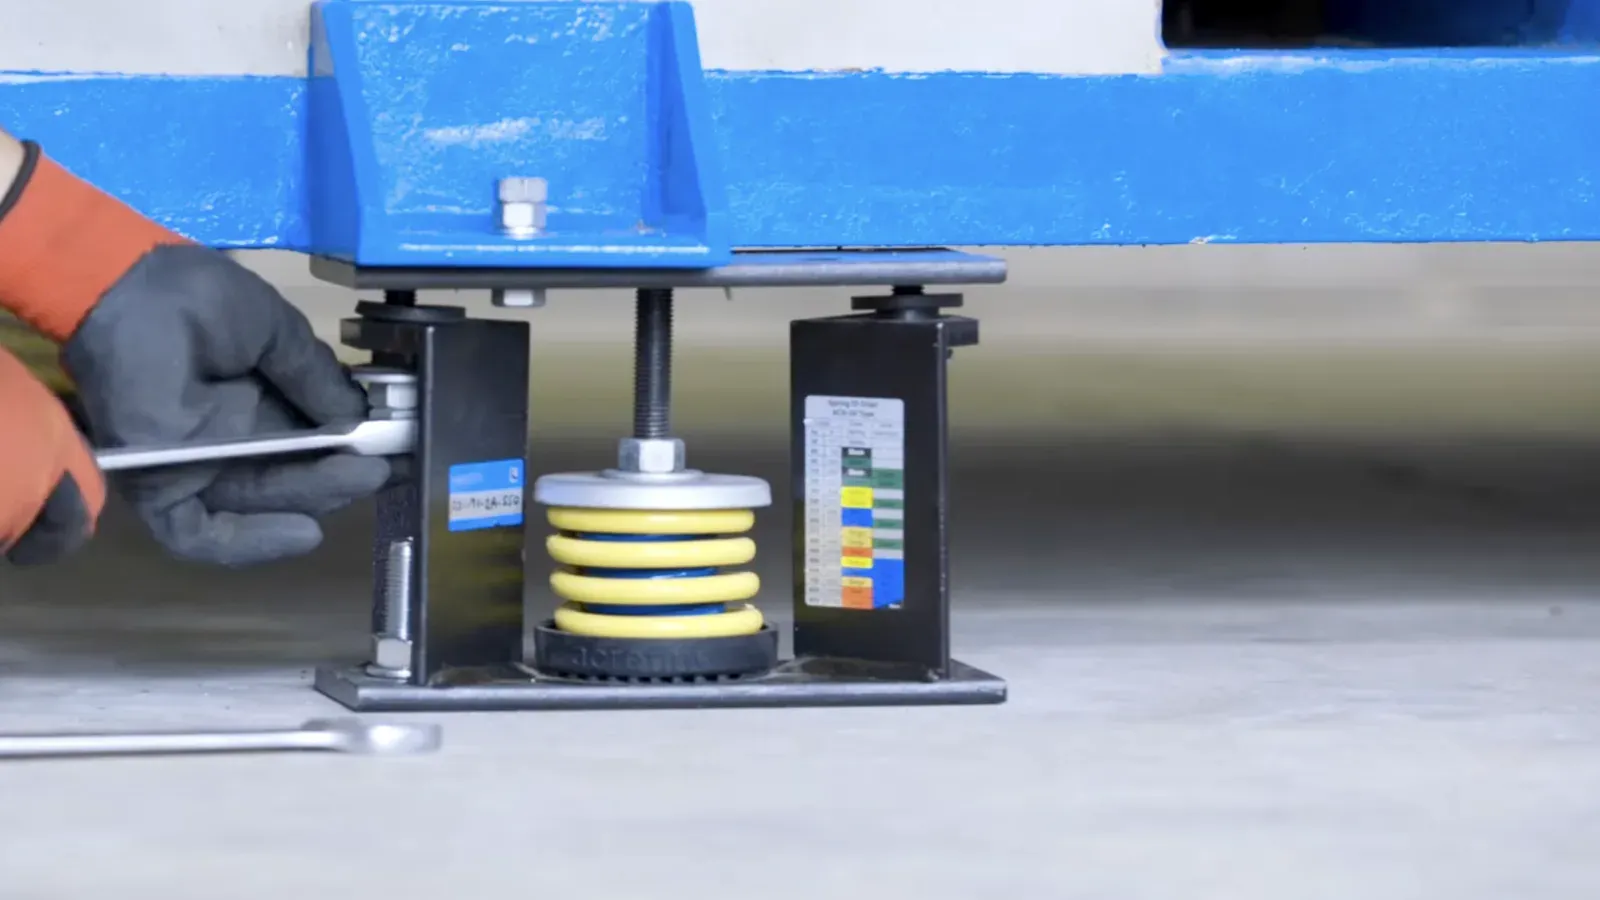
How to install a seismic & vibration isolator with top plate
Equipment on spring isolators must be resiliently mounted yet seismically restrained. The film shows the isolator fixed down, the equipment frame bolted to its top plate and the final adjustment that sets the isolator to its working height.
Anchor bolt size and embedment come from the seismic calculation, not from the isolator datasheet. → Seismic Calculations for Equipment. Product range → Seismic Isolators.
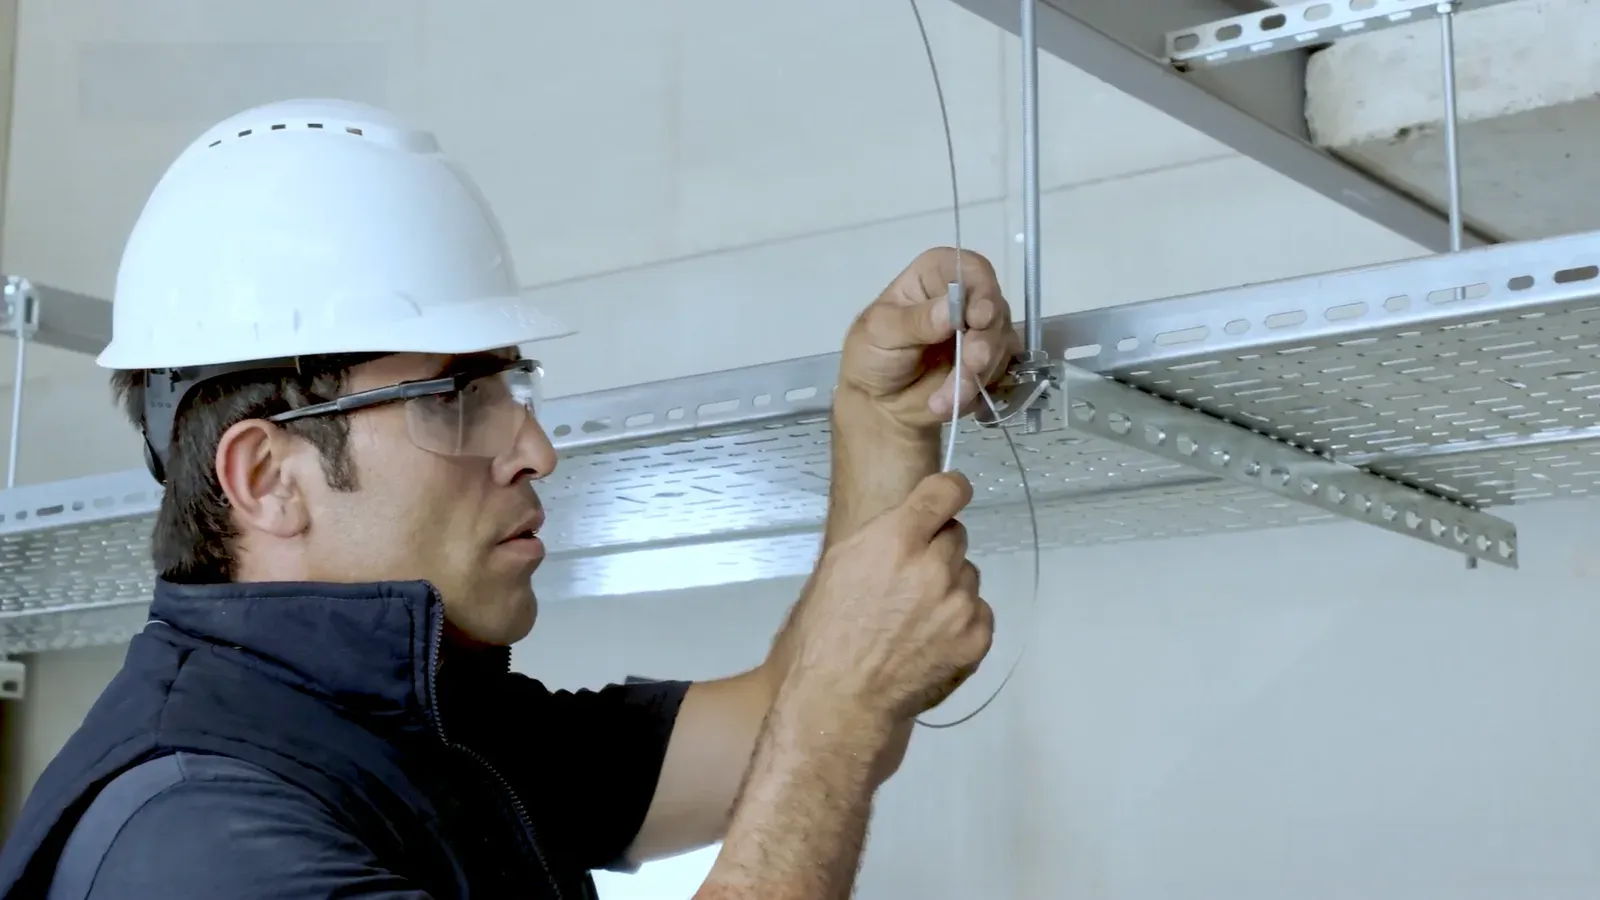
How to install seismic cable bracing with grips
Suspended pipework, ductwork, cable trays and suspended equipment are braced with steel wire rope set at an angle to the structure. The film follows the work on a cable tray: setting the hanger, fixing the cable to the structure at an angle, then threading it through the self-locking grip at the tray and taking out the slack.
Brace spacing, cable angle and hanger-rod stiffening are set by the bracing design. → Seismic Bracing Design. Product range → Seismic Bracing.
Need a second pair of eyes on site? Installation verification is part of our bracing service, on request.
info [at] acrefine.com